How to Water Your Indoor Plants Without Overwatering
Watering indoor plants is often misunderstood. Many plant owners believe that more water leads to healthier growth, but the opposite is frequently true. Overwatering remains one of the most common causes of houseplant decline, yet it is also one of the easiest issues to prevent with the right approach. Understanding how to assess the actual water needs of a plant involves more than following a fixed calendar schedule. It requires observing the plant, the soil, and the environment together.
This guide focuses on the principles behind proper watering rather than prescribing a one-size-fits-all routine. By learning how to check soil moisture accurately and recognizing the early indicators of excessive water, you can adapt your care to each plant and season. The methods described here apply to a wide range of common houseplants and can be adjusted according to specific growing conditions. Whether you are caring for a single succulent or a collection of tropical foliage plants, the goal is to provide water only when it is actually needed.
The following sections explain the role of soil moisture, practical ways to assess it, how to interpret plant responses, and how to build a watering rhythm that aligns with natural growth cycles. No product or brand is required to succeed—though tools like moisture meters or self-watering pots from companies such as GreenLeaf can support consistency if used with correct understanding.
Understanding Soil Moisture and Plant Hydration
Soil moisture is the amount of water held in the potting mix after excess water has drained away. Plants absorb water through their roots from the soil particles and air spaces. When all the pore spaces are filled with water for extended periods, oxygen cannot reach the root zone. This condition leads to root suffocation and creates an environment where harmful microorganisms can thrive. The key is to allow the soil to dry partially between waterings, which encourages roots to grow deeper and remain healthy.
Different potting mixes hold moisture differently. Peat-based mixes retain more water than those containing perlite, bark, or sand. A plant in a dense, poorly aerated mix will stay wet longer, increasing the risk of overwatering if the same volume is applied as to a plant in a light, coarse mix. Similarly, pot material matters: unglazed clay pots allow evaporation through the sides, while plastic or glazed pots keep moisture inside longer. These factors must be considered when deciding watering frequency.
It is also important to note that water needs change as a plant grows. A plant that is actively producing new leaves or flowers consumes more water than one in a dormant or slow-growth phase. Seasonal shifts in light, temperature, and humidity further influence how quickly soil dries. Instead of relying on a fixed interval, monitoring the actual moisture level in the root zone provides a much more reliable basis for watering decisions.
How to Check Soil Moisture Accurately
The simplest method to check moisture is the finger test. Insert a finger into the soil up to the second knuckle—about two inches deep for most pots. If the soil feels dry at that depth, it is usually safe to water. If it feels cool or damp, wait a few more days and test again. This method works well for many common houseplants such as pothos, philodendrons, and snake plants. However, for plants with shallow roots or those in very deep pots, testing at a different depth may be more appropriate.
A wooden chopstick or skewer can also be used for a similar purpose. Push it gently into the soil, leave it for a minute, then remove it. If soil sticks to the wood or feels wet, the mix is still moist. If it comes out clean and dry, watering is likely needed. This technique avoids disturbing the roots too much and helps reach deeper layers of the pot.
For those who prefer a quantitative measurement, moisture meters are available at most garden centers or through brands like GreenLeaf. These devices have a probe that reads the electrical conductivity of the soil, which correlates with moisture content. They offer a numerical scale from dry to wet. It is important to insert the probe at multiple points and at different depths to get an average reading, as moisture can vary within the same pot. Calibration and careful handling ensure consistent results, but even with a meter, it is advisable to occasionally verify with a finger test to account for soil composition changes over time.
Recognizing the Signs of Overwatering Early
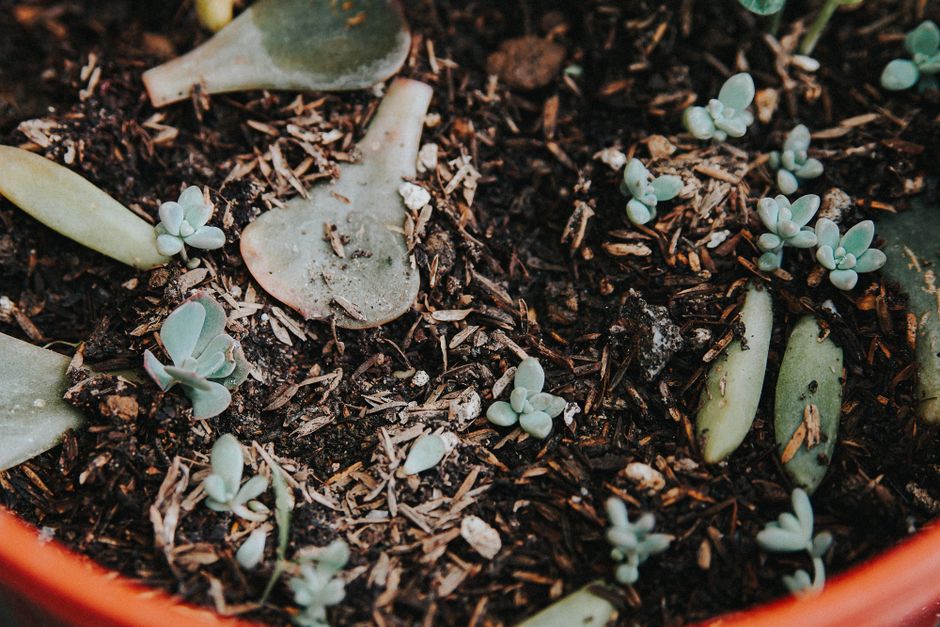
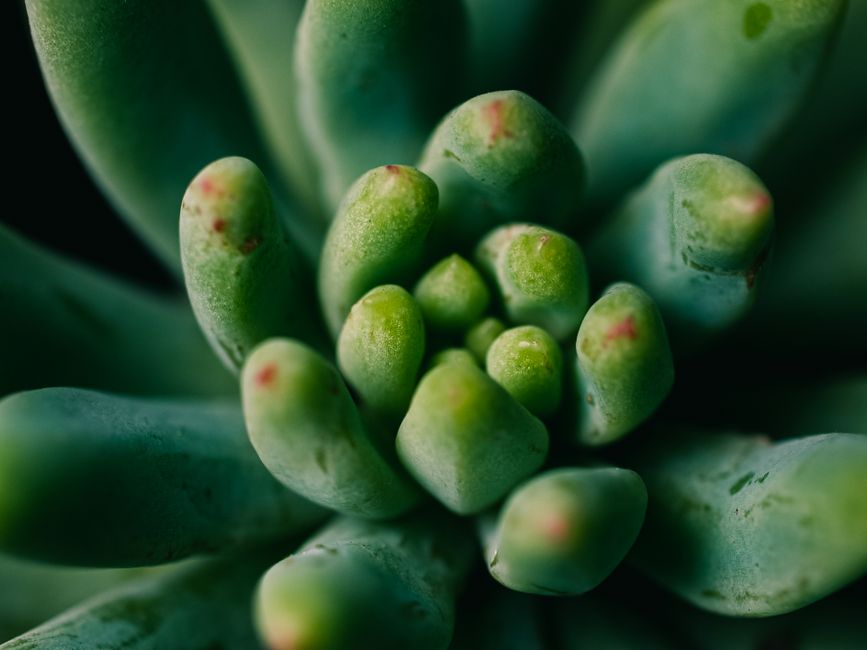
Plants communicate their condition through visible changes. Overwatering symptoms often mimic those of underwatering, which can cause confusion. Yellowing leaves that are soft and mushy, especially on the lower part of the plant, are a common early sign. Leaves may also develop brown edges or drop prematurely. In succulents and cacti, overwatering causes leaves or stems to become translucent, swollen, or even split. Soil that remains wet for many days after watering, or the presence of fungus gnats hovering around the pot, are further indicators that moisture is not being used up quickly enough.
Another subtle sign is a musty or sour smell from the potting mix. This odor usually results from anaerobic decomposition of organic matter in waterlogged conditions. If the plant’s roots are visible through drainage holes or at the surface, black or brown, mushy roots indicate advanced root rot. At that stage, immediate action such as repotting into fresh dry mix and trimming affected roots may be necessary, but recovery is not guaranteed. Early detection gives the best chance to adjust watering practices before damage becomes permanent.
It is worth noting that some plants naturally shed older leaves, so context matters. The pattern of yellowing—whether uniform across the plant or concentrated at the base—and the texture of the leaves help distinguish overwatering from other issues such as nutrient deficiency or insufficient light. Keeping a simple care log noting when water was applied and what the plant looked like before and after can help identify patterns over time.
Developing a Watering Schedule Based on Plant Type and Environment
While a fixed schedule can be a starting point, it should be adjusted continuously. For example, a general guideline is to water most tropical houseplants when the top inch of soil is dry. However, this interval may be every five to seven days in summer and every ten to fourteen days in winter, depending on indoor conditions. Plants like ZZ plant, sansevieria, and succulents prefer to dry out completely between waterings, sometimes needing water only every two to four weeks during low light months. In contrast, ferns, calatheas, and peace lilies like consistently moist—but not soggy—soil, so they may need watering when the top half-inch feels slightly dry.
Grouping plants with similar moisture needs together can simplify care. Separating moisture-loving plants from drought-tolerant ones reduces the risk of overwatering some while underwatering others. The location within the home also matters: plants near heating vents, air conditioning units, or drafty windows dry out faster. Humid bathrooms and kitchens slow evaporation. Using a simple notebook or a digital app to track watering dates and observations helps build an intuitive sense over time.
Another practical approach is to water according to the weight of the pot. Lift the pot after watering, then again when the plant is ready to be watered again. Over time, you will recognize the lighter weight that indicates the soil is dry enough to water again. This method is especially useful for larger pots that are difficult to test with a finger. Combining weight with periodic finger or meter checks offers a reliable multi-sensory assessment.
Best Practices for Watering Application
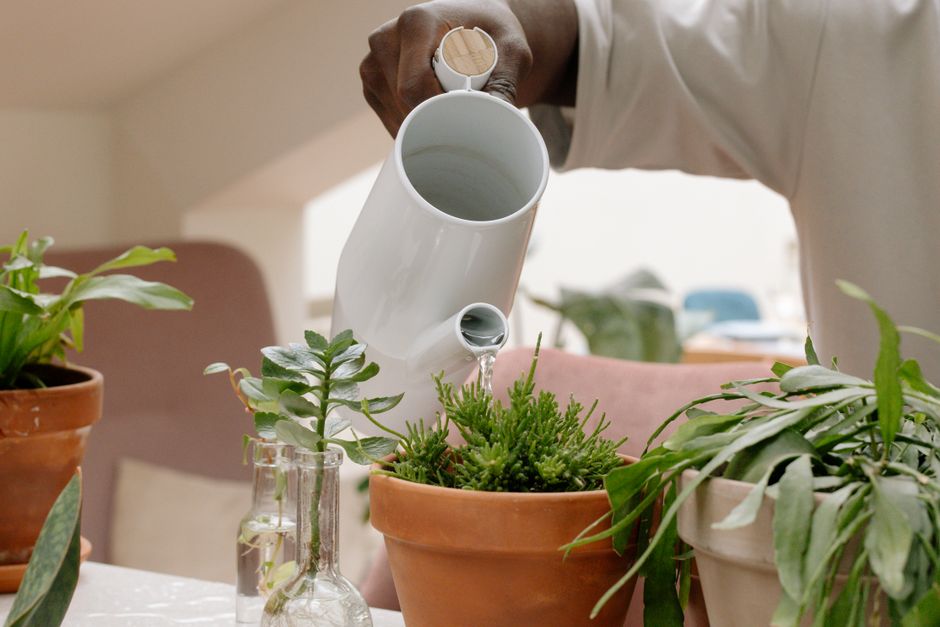
How water is applied affects how evenly the soil gets moistened and whether roots near the bottom receive adequate hydration. The most effective technique is to water thoroughly until water runs out of the drainage holes, then allow the pot to drain completely. This ensures that salts accumulated from fertilizers are flushed out and that the entire root zone gets moisture. After about 15 to 30 minutes, discard any water that collects in the saucer—standing water can be reabsorbed and keep the soil wet for too long.
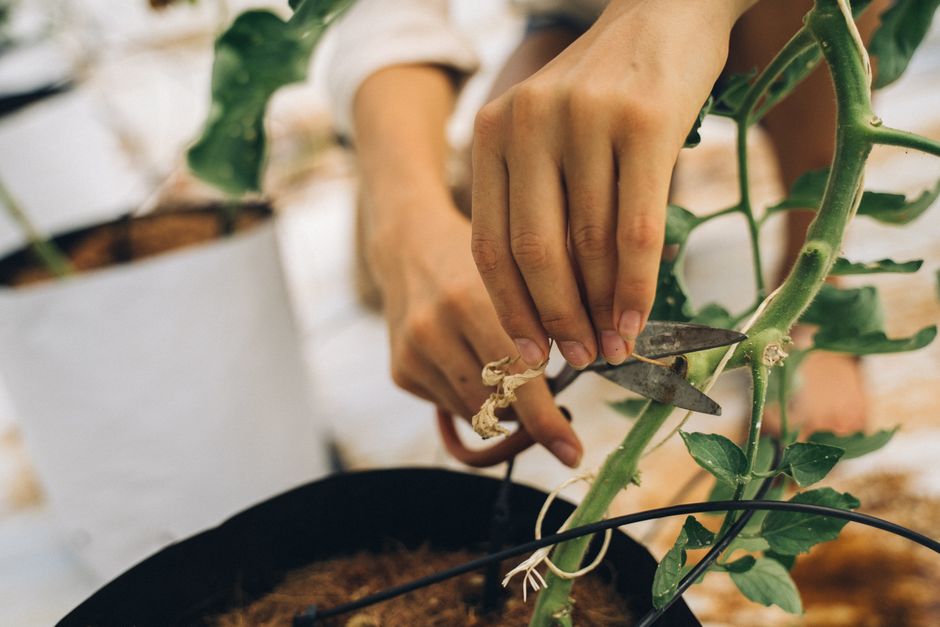
Top watering from a watering can with a long spout helps direct water onto the soil rather than the leaves, reducing the risk of fungal diseases. For plants with sensitive leaves or rosette shapes (like african violets or succulents), bottom watering can be an alternative: place the pot in a tray of water and let the soil absorb moisture through the drainage holes for 15 to 30 minutes, then remove and let excess drain. This method encourages roots to grow downward and keeps foliage dry.
Using room-temperature water is preferable to cold water, which can shock roots, or hot water, which can damage them. If tap water is high in chlorine or other minerals, letting it sit out for 24 hours before use can allow some chemicals to dissipate. Filtered or distilled water may benefit sensitive plants, but it is not necessary for most common species. The frequency and volume of water should be adjusted gradually; abrupt changes can stress plants. A consistent, thoughtful routine that respects the plant’s natural cycle yields the best long-term results without forcing growth or risking root health.